

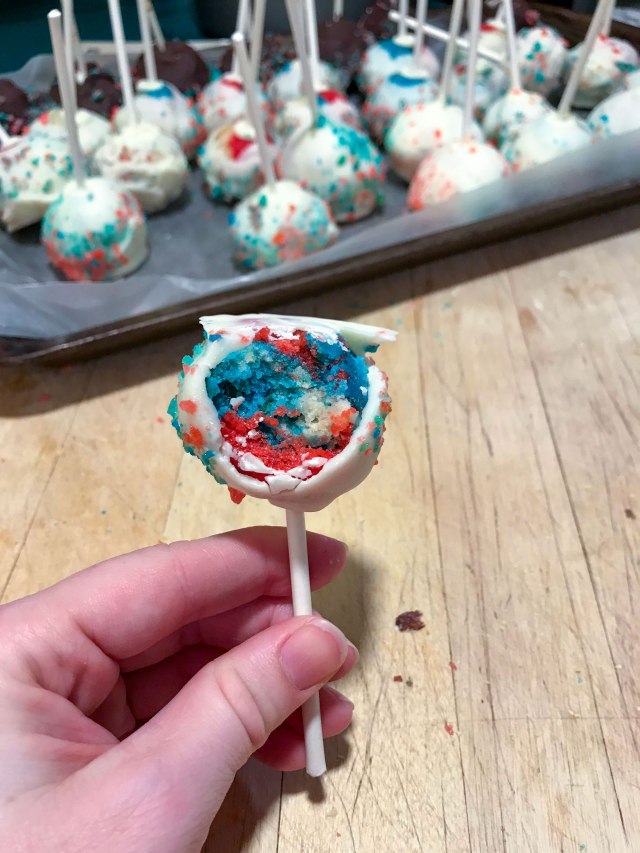
This is a recipe I created by smashing together a bunch of other recipes (linked at the bottom) and my vision of this marbled 4th of July cake pop. I wanted something super festive for the 4th and, after making these last year, I was ready to tackle another challenge.
You know I’ve got a recipe first policy so here it is. It’s a long one!
CAKE:
- 2 cups gluten free flour
- 1/4 cup + 2 tablespoons cornstarch
- 2 teaspoons baking powder
- 1/2 teaspoon baking soda
- 1/2 teaspoon salt
- 12 tablespoons butter, at room temperature
- 1 1/2 cups granulated sugar
- 1 tablespoon clear vanilla flavoring
- 6 egg whites at room temperature (or egg white from a carton)
- 1 1/3 cups buttermilk, at room temperature
FROSTING:
- 7 Tablespoons butter, softened to room temperature
- 1 and 3/4 cups confectioners’ sugar
- 2–3 teaspoons heavy cream or milk
- 1 teaspoon vanilla extract
DECORATION:
- 20+ oz Vanilla CandiQuik (You might need more depending on how much you want to coat the pops)
- Red and Blue Pop Rocks
- Lollipop Sticks or Cake Pop Sticks
1. Preheat oven to 350°F. Grease 3 6-inch round cake pans (or 3 small pans of equal size. I used rectangular disposable pans) and line the bottom of each with parchment paper. Set the pans aside.
2. Into a medium-size bowl, sift (I don’t usually sift but the recipe I based this on was VERY insistent you sift so I did it for this one) the flour, cornstarch, baking powder, and baking soda. Add the salt and whisk to combine well. Set the dry ingredients aside.
3. In the bowl of a stand mixer fitted with the paddle attachment or a large bowl with a handheld mixer, beat the butter until it’s pale in color. Add the sugar, vanilla flavoring and egg whites, and beat on medium-high speed for about a minute or until light and fluffy, stopping at least once to scrape the entire mixture off the sides and bottom of the bowl.
4. To the large bowl with the butter and sugar mixture, add the dry ingredients in 3 equal portions, alternating with the buttermilk in 2 parts, beginning and ending with the dry ingredients and mixing to combine in between additions. Once all of the ingredients have been added, beat with the mixer until mostly combined, then turn over the batter a few times by hand with a spatula. It should be very thickly pourable and relatively smooth.
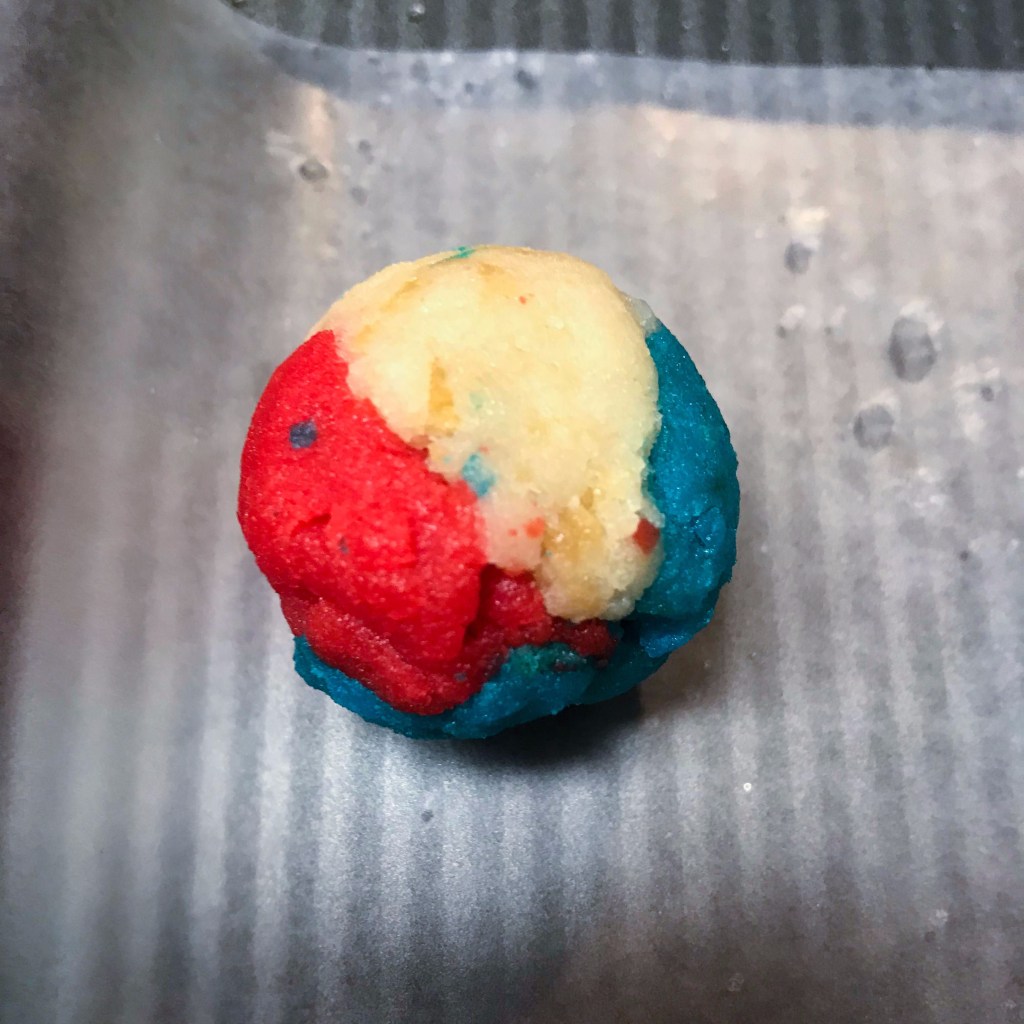
5. Divide the batter evenly between three bowls. Add red to one, blue to the other and leave one white.
6. Pour each into one of the prepared baking pans and smooth each into an even layer with an offset spatula. Smack each pan flat on the counter a few times to break up any large pockets of air. Place the baking pans in the center of the preheated oven and bake for 20 minutes. Rotate the pans, and continue to bake until the cakes are lightly golden brown all over, have begun to pull away from the sides of the pan (about another 10 minutes). Let them cool completely.
7. Make the frosting:With a handheld or stand mixer fitted with a paddle attachment, beat the butter on medium speed until creamy, about 2 minutes. Add confectioners’ sugar, heavy cream, and vanilla extract with the mixer running on low. Increase to high speed and beat for 3 full minutes.
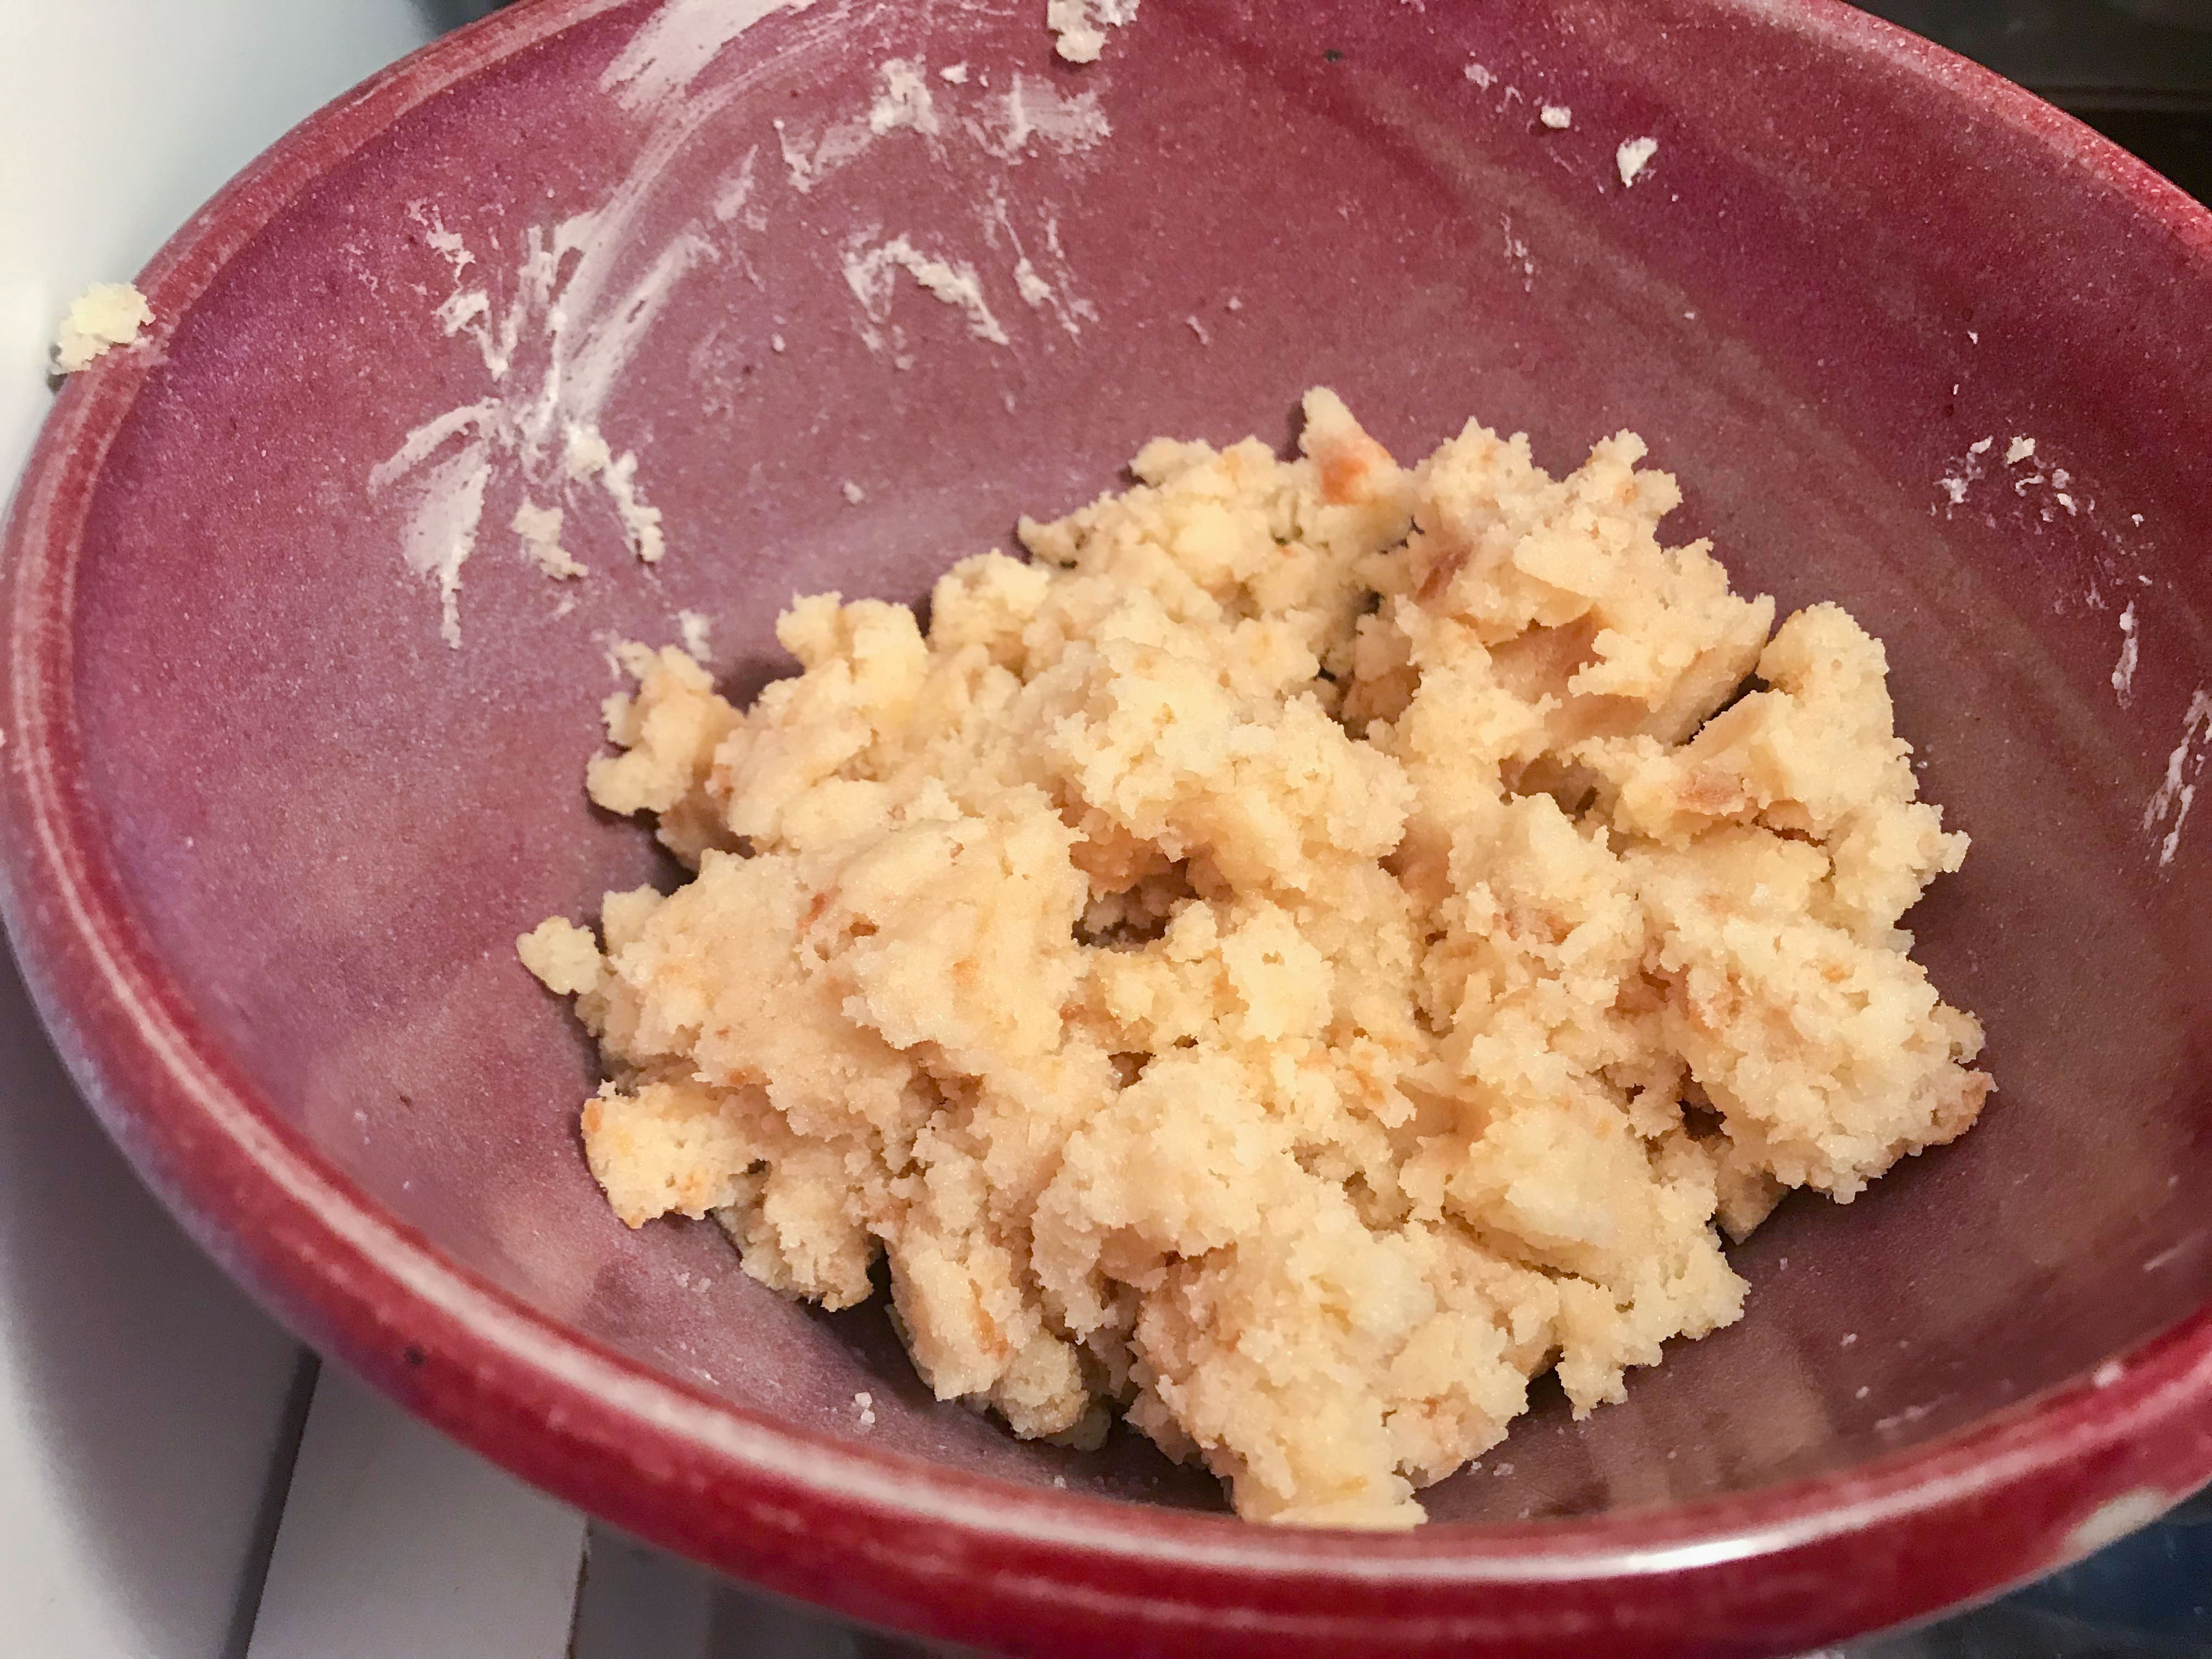
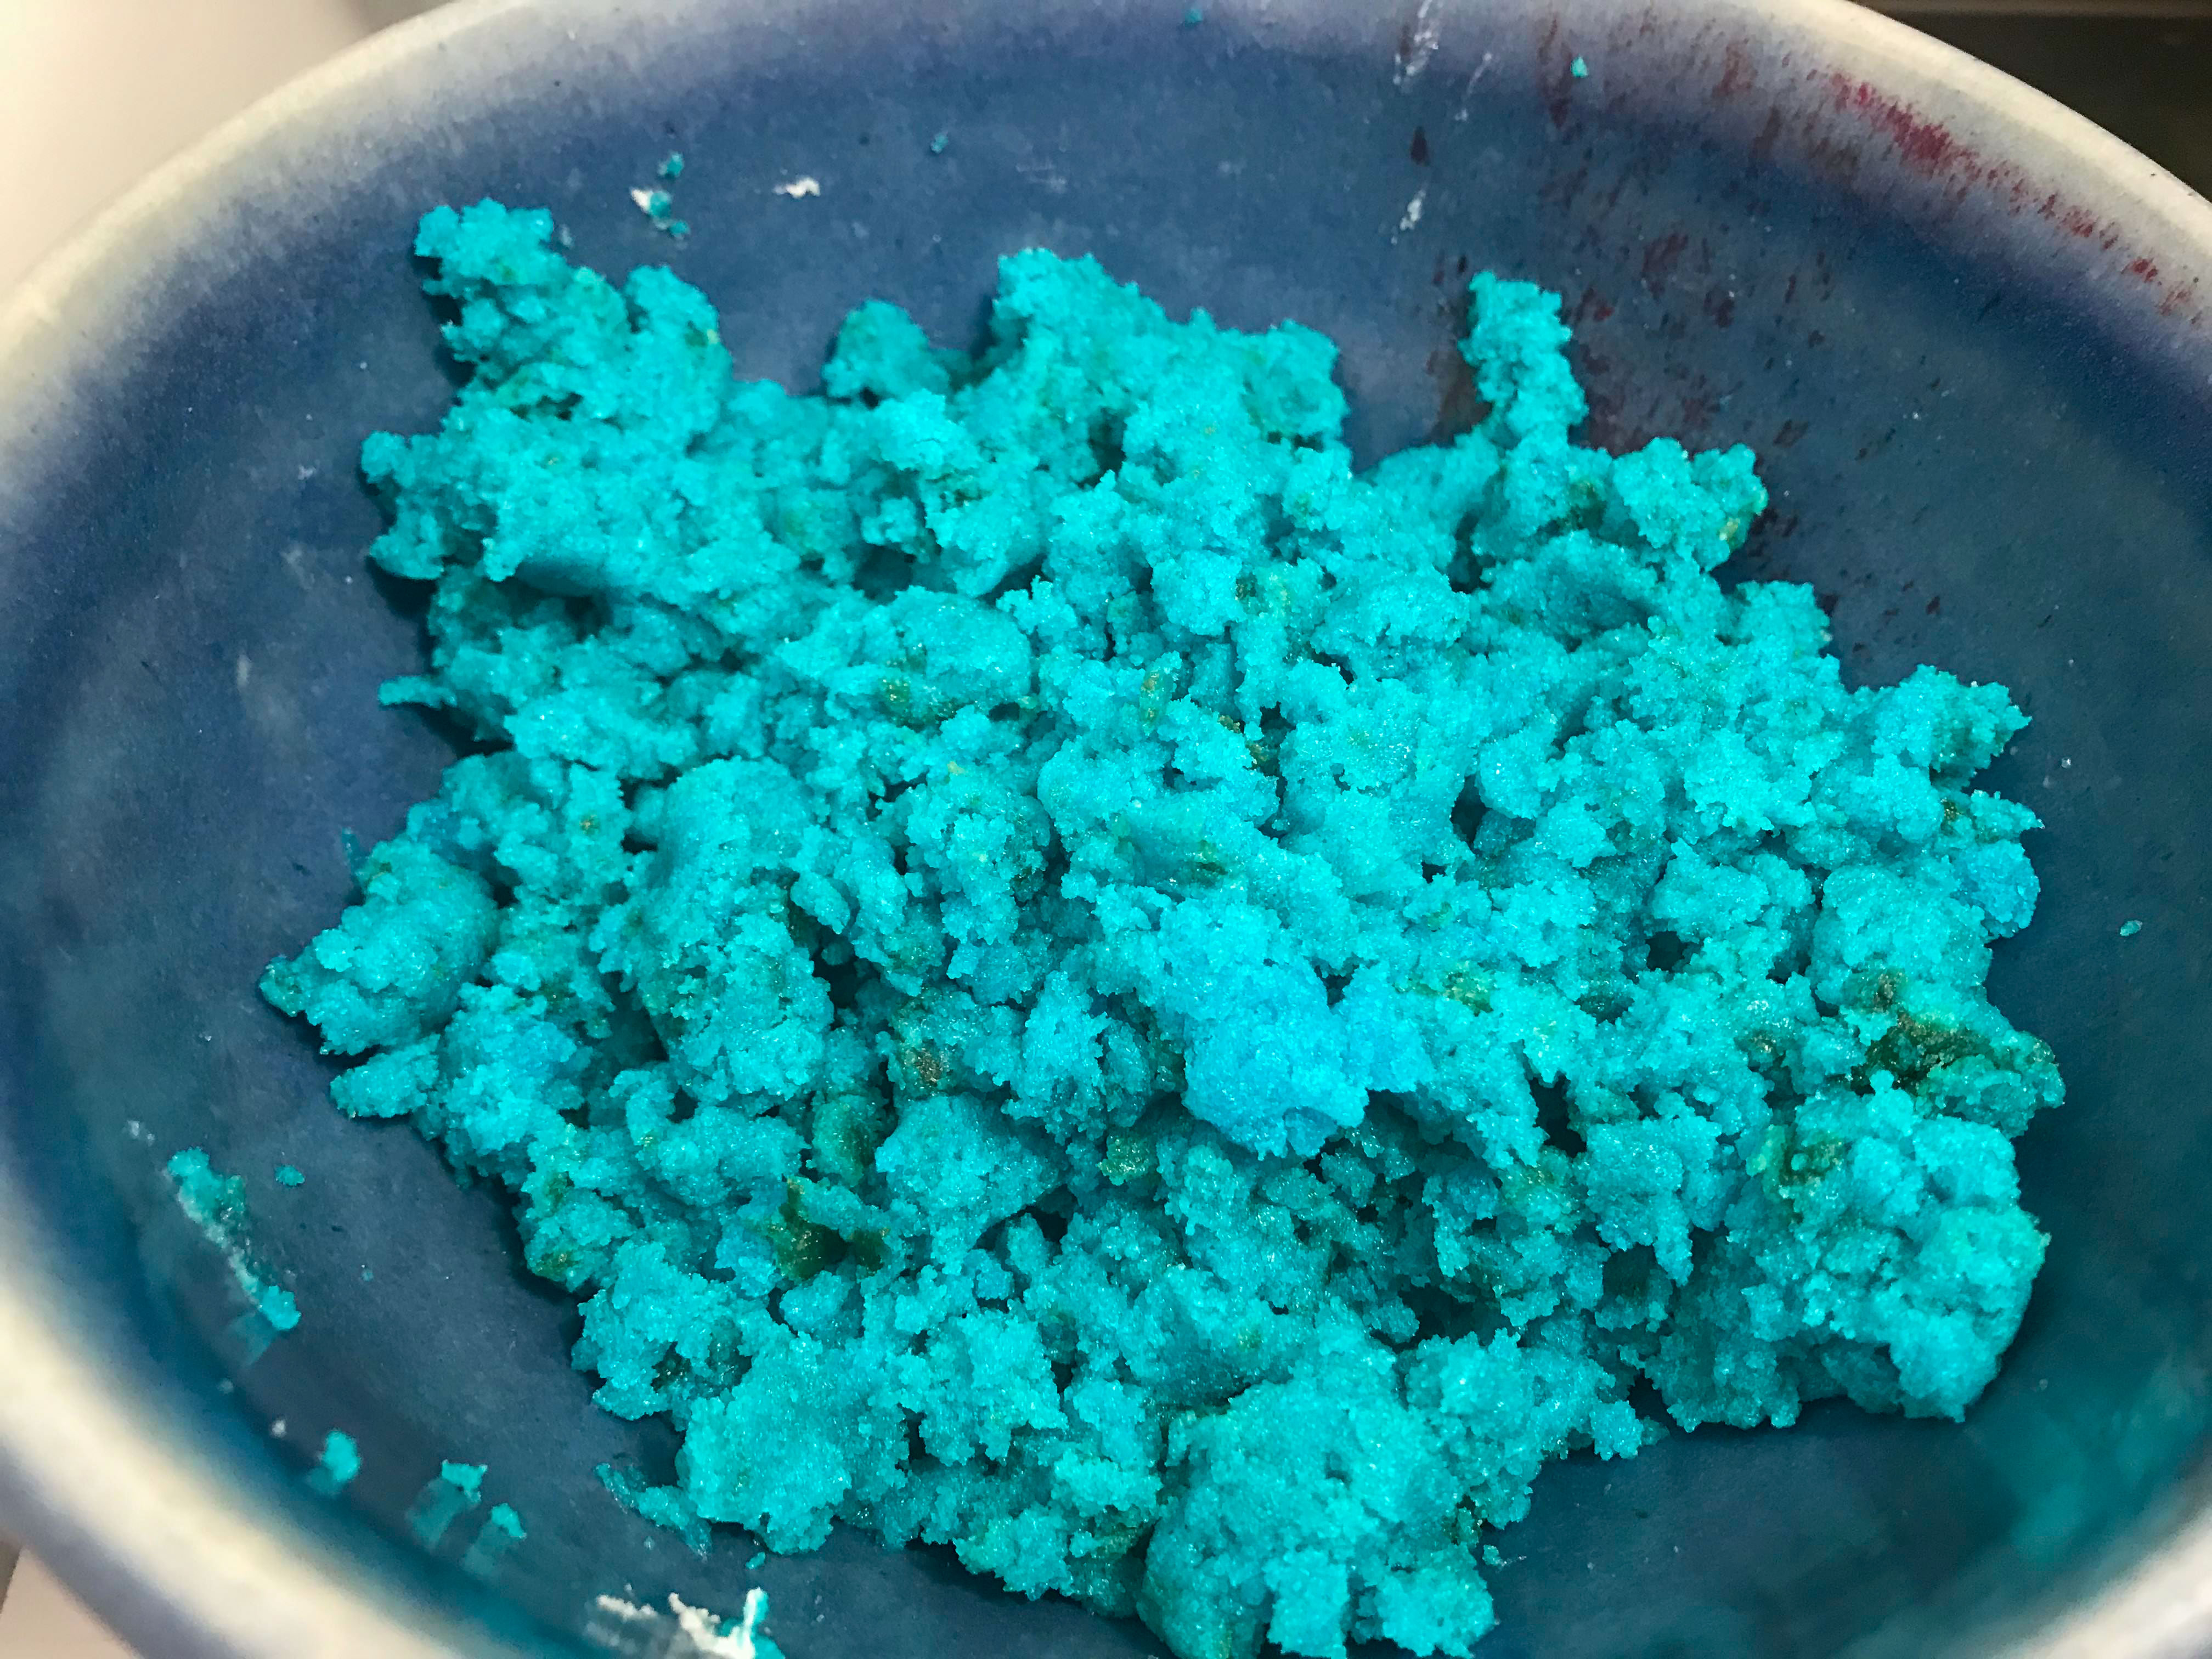
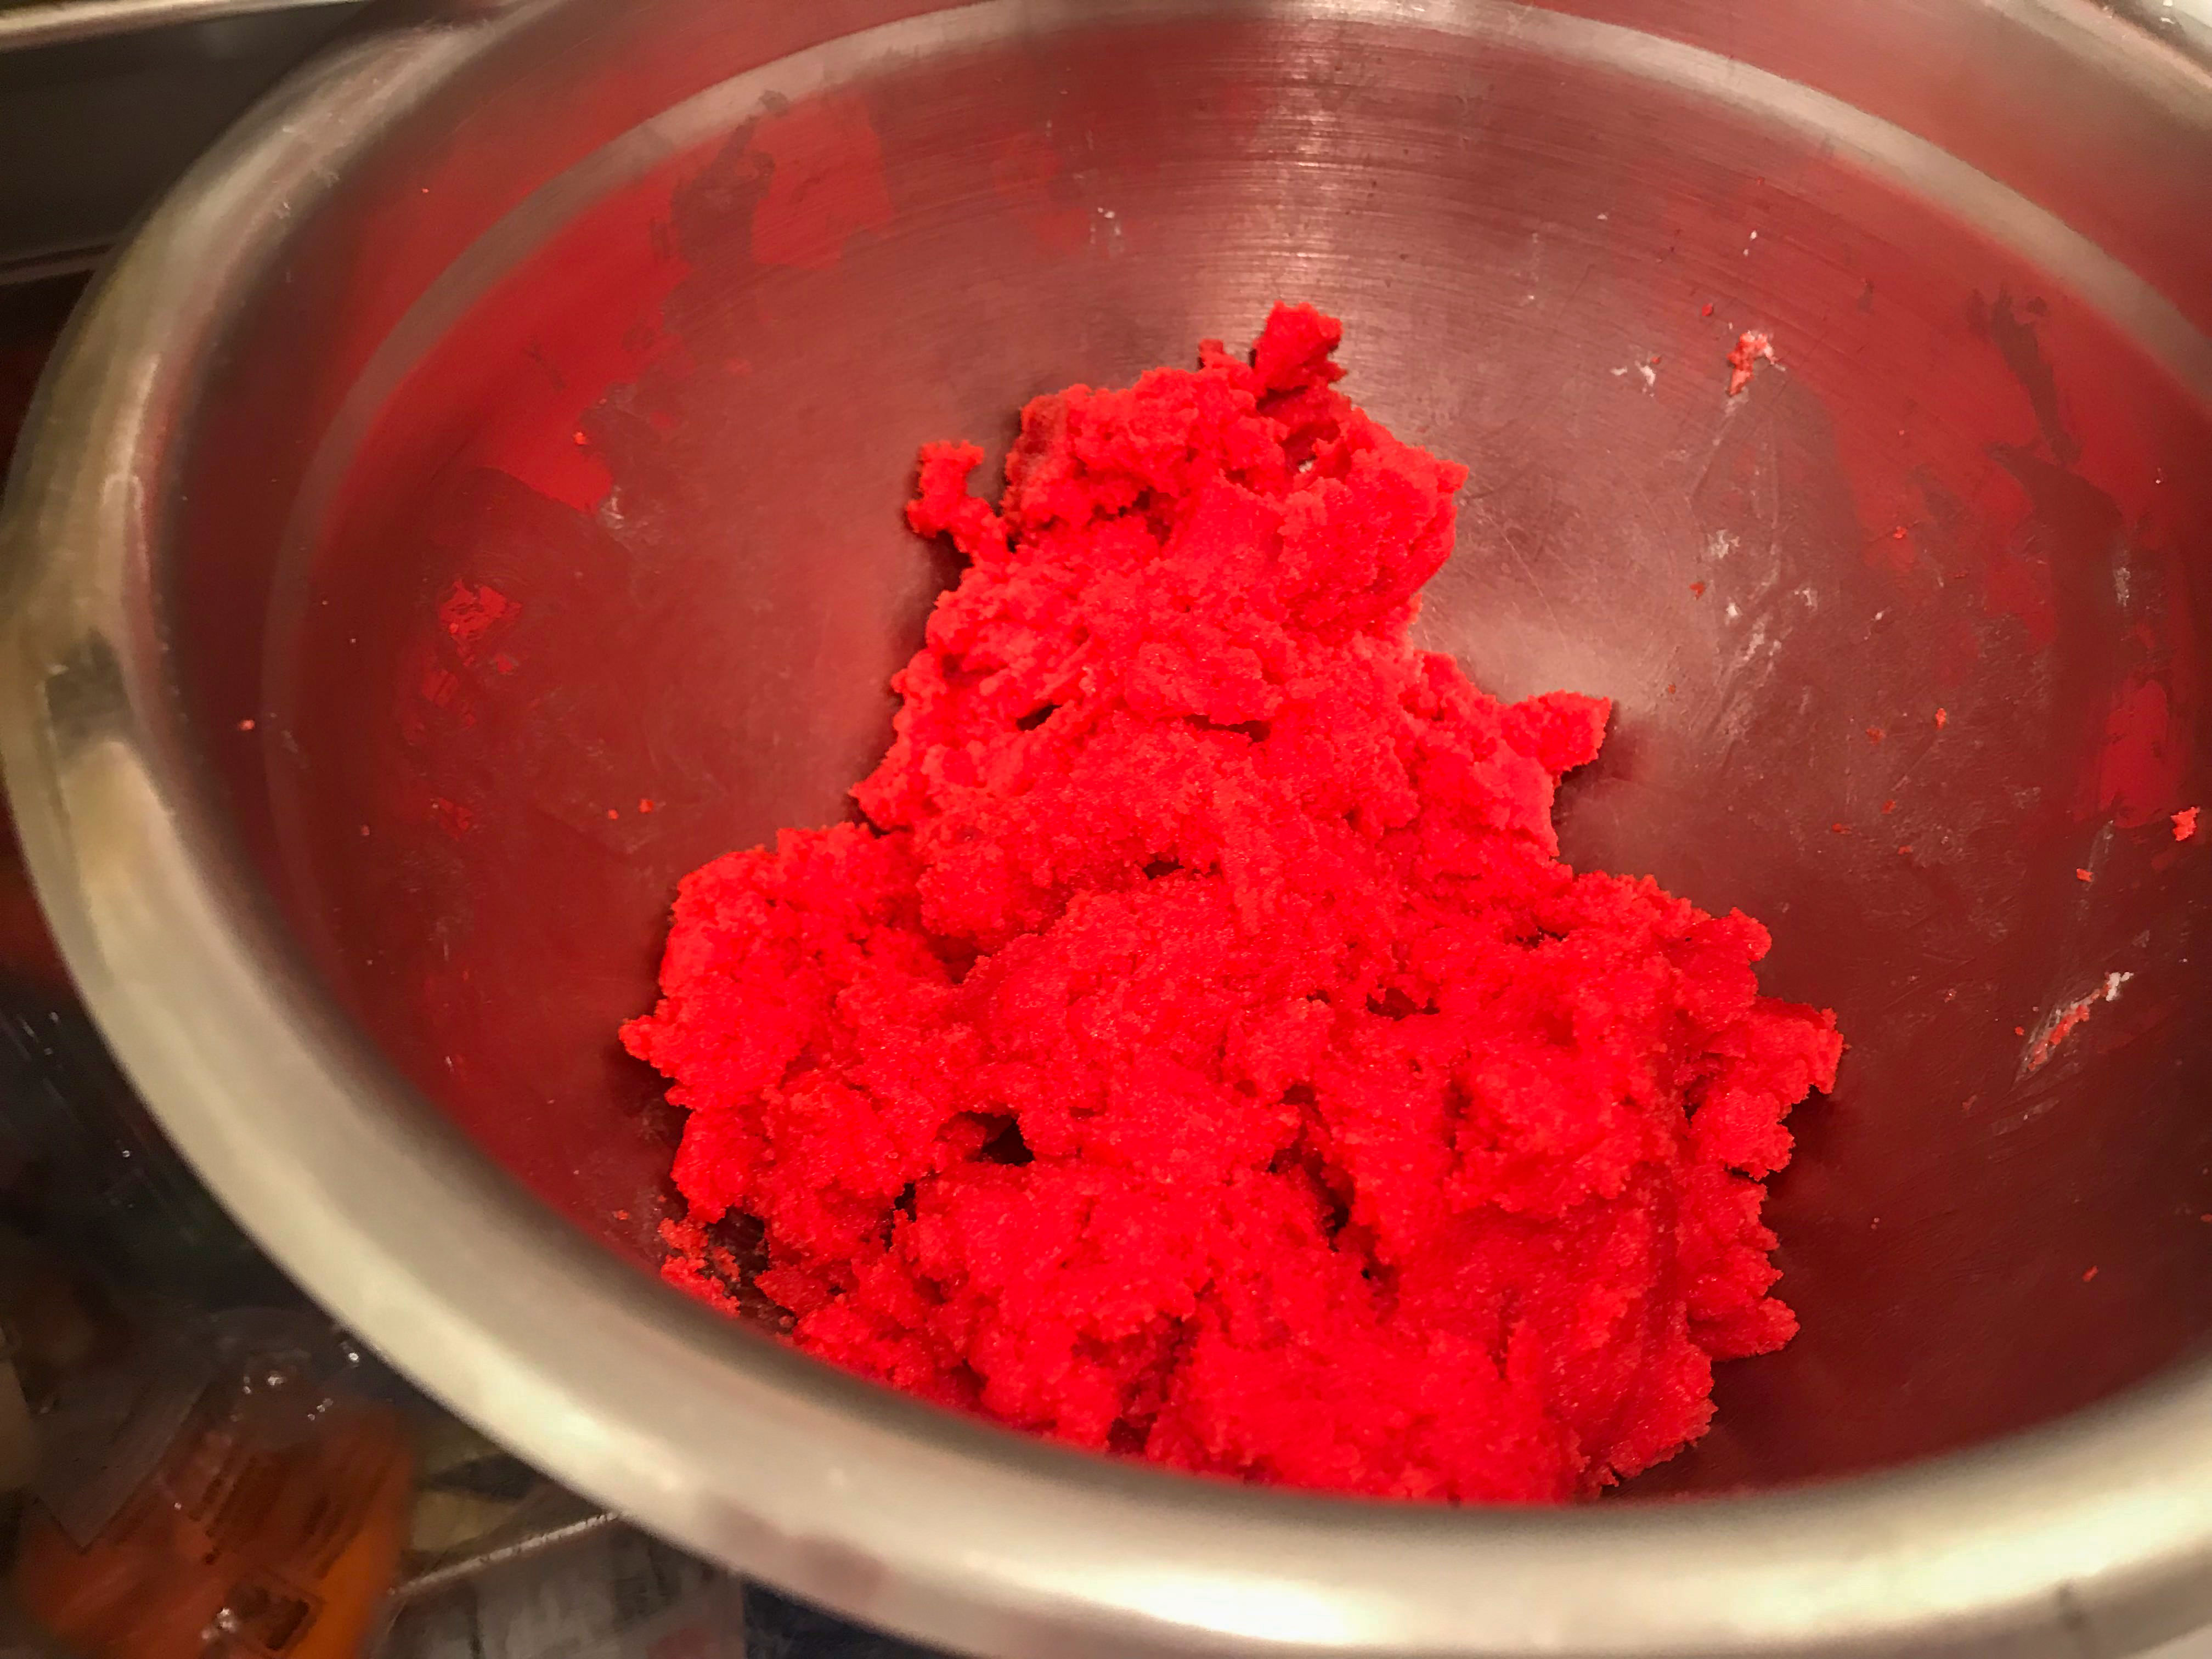
8. Crumble each cake into its own bowl. Fill a 1/3 cup with frosting and add part to the cake. Mix with hands. Add up to the full 1/3 cup frosting to each color as needed.
9. Refrigerate bowl of batter for 30 min to overnight.
10. Take a small portion from each color and roll together into a ball. Place on cookie sheet with wax paper. You can refrigerate again while heating chocolate.
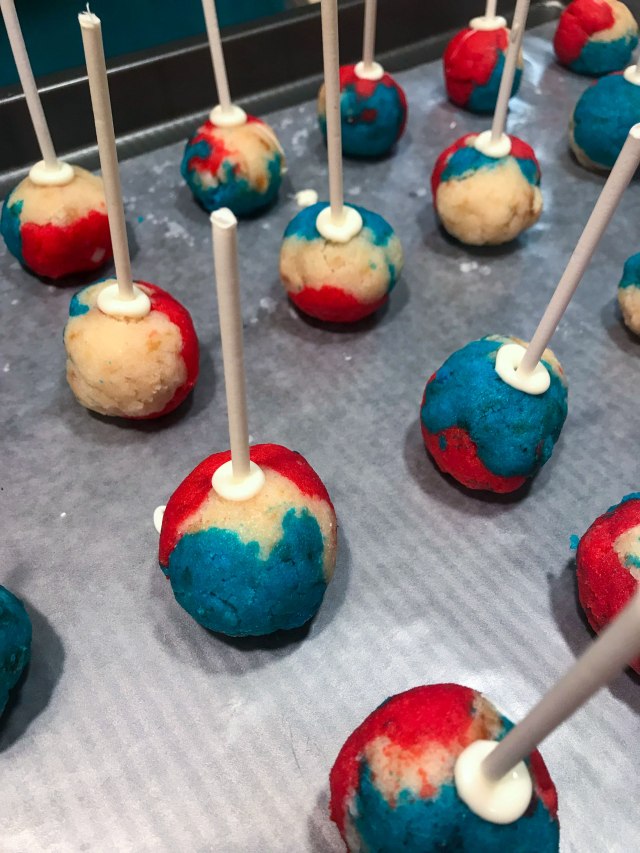
11. Melt chocolate coating per package directions.
12. Dip the tip of your Cake Pop Sticks in melted coating before inserting it into a cake ball. Return cake pops to the wax paper, cover with cling wrap and place in freezer for at least an hour to firm up.
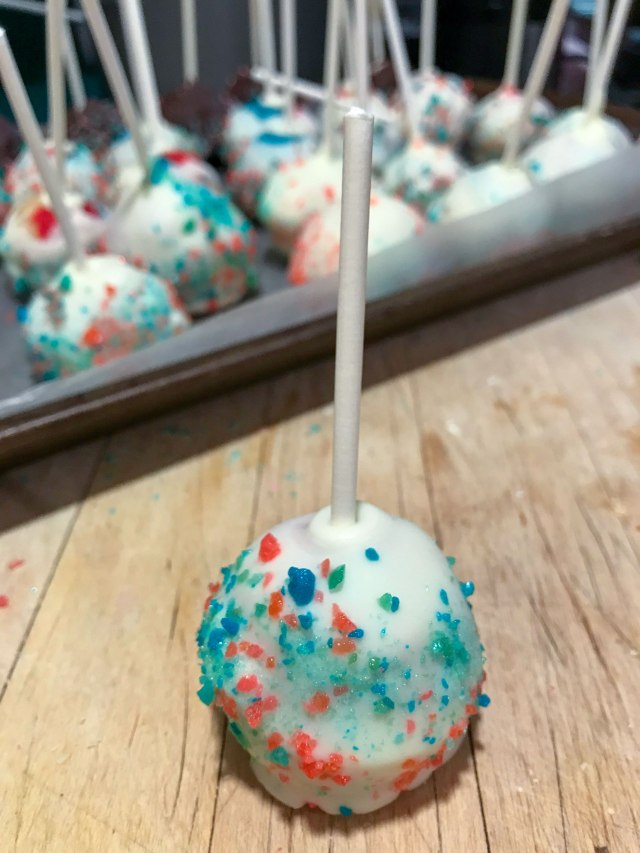
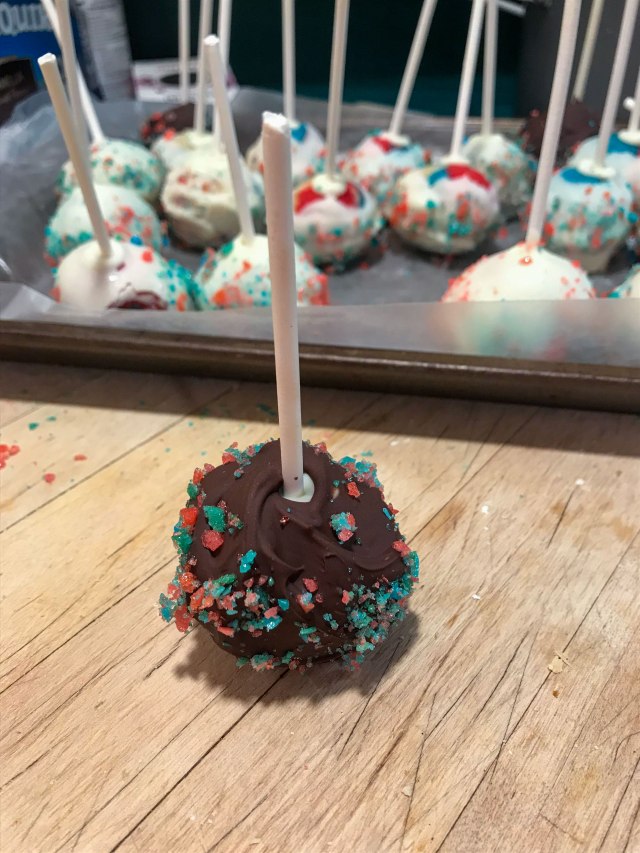
13. Once firm, remove one cake pop one at a time and cover with candy coating. Softly tap and rotate until excess chocolate drips off. Sprinkle the ball with Pop Rocks or roll them in the Pop Rocks for more coverage.
14. Place upright into a Styrofoam block or box with holes poked in it or place pop down on a wax paper covered cookie sheet. Repeat with remaining cake balls, only working with some out of the refrigerator at a time.
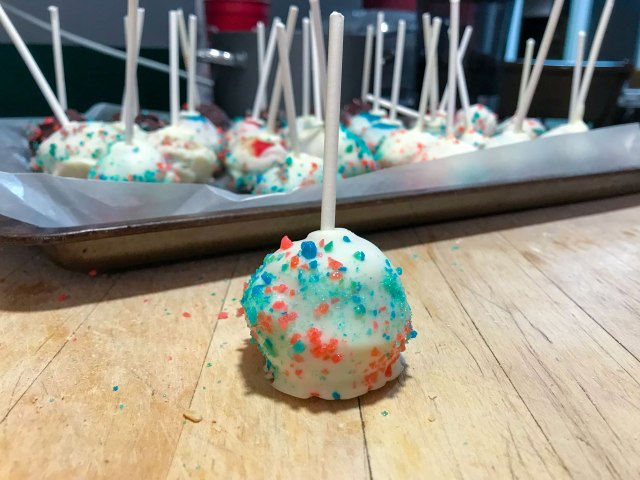
15. Coating will set within an hour. Store cake pops in the refrigerator for up to 1 week or freeze.
MY TAKEAWAYS:
Overall, I would consider this recipe a success! It looked mostly the way I had envisioned and I was really pleased with my ability to Frankenstein all of these recipes together. Plus my family loved them!
I only have a few complaints:
- The cake was super moist. Which is great for a GF cake (because they’re often dry), but not great for crumbling. It might have been partially because I tried to cool it in the fridge to save time.
- This recipe takes a long time. Apparently, cake pops always take a while. One way to combat this is to spread the project over a couple of days! Make the batter one day and roll and dip the next or split it up any way you’d like.
- The Pop Rocks didn’t really pop. Because the pop rocks react to moisture and you’re adding them to a moist chocolate, they kind of lose their pop after application. You can try eating them really quickly or if you have any other suggestions let me know!
- The CandiQuick is bland. While it worked great for a quick dry coating and had a good white color, the CandiQuick doesn’t have much of a taste. That, paired with the white cake made for not a ton of flavor for a gal who wants a lot of flavor in her GF treats. My suggestion would be to try adding some clear flavoring to the cake to give it an extra oomph! Or maybe to the CandiQuick, but be careful of making it too watery.
But, despite these, I would consider this recipe a triumph.
Here is where I got my frosting recipe.
Here is a list of tips.
Here is my white cake recipe.
I know this recipe is long, but, if anyone does end up making it and has any suggestions or new discoveries, please let me know!
